Why Nicola you may ask? I just like naming things.
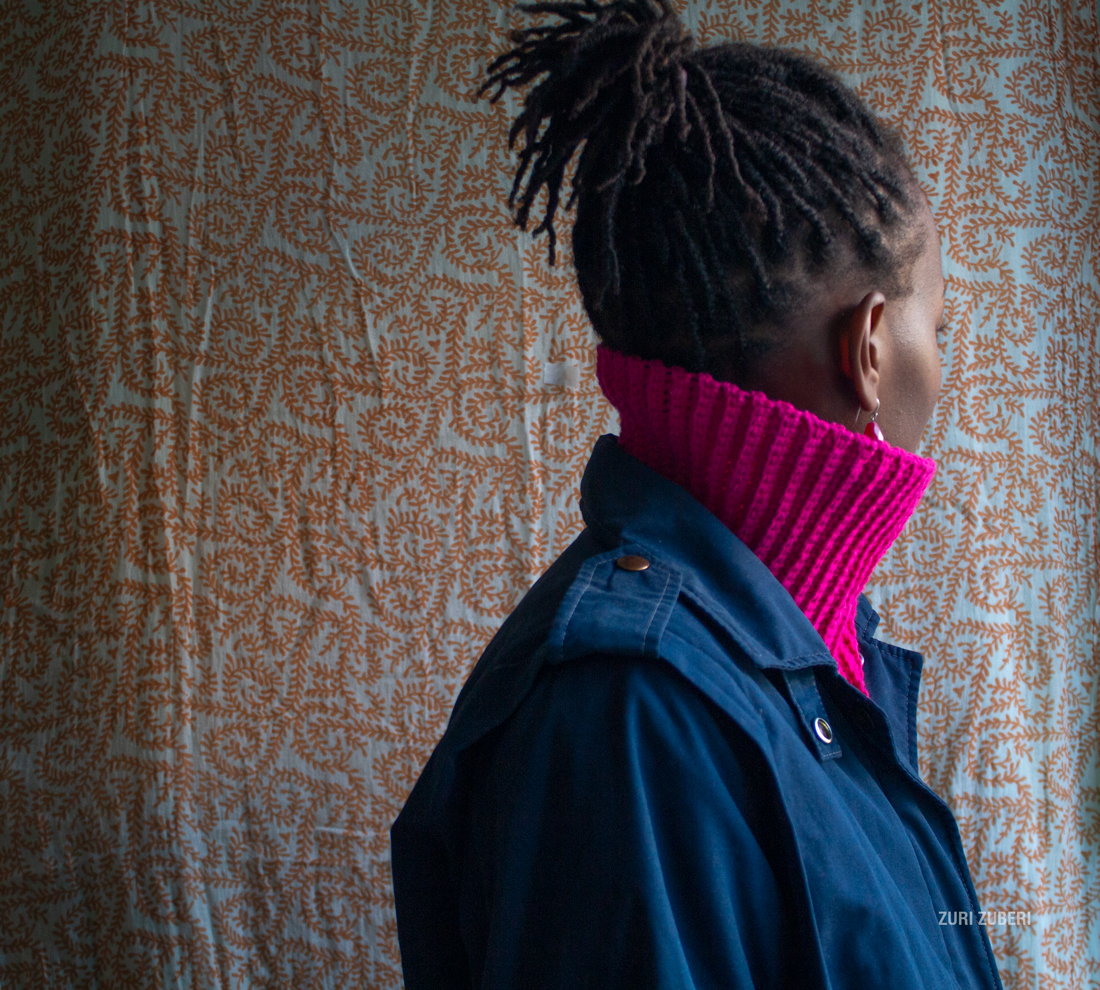
Spring has arrived so I probably shouldn’t be posting such a winter related thing as a neck warmer but my neck is always cold and Helsinki is really windy, so that’s my excuse.
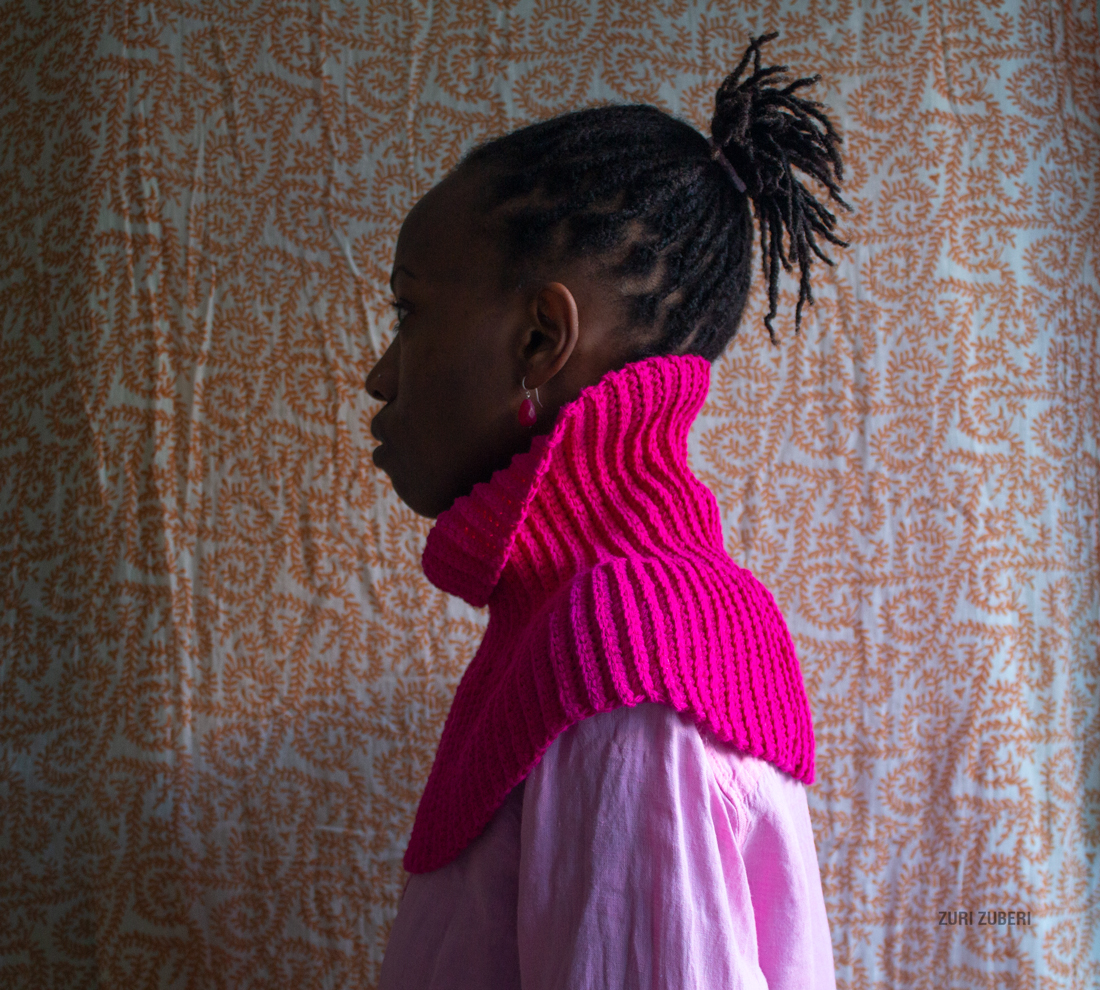
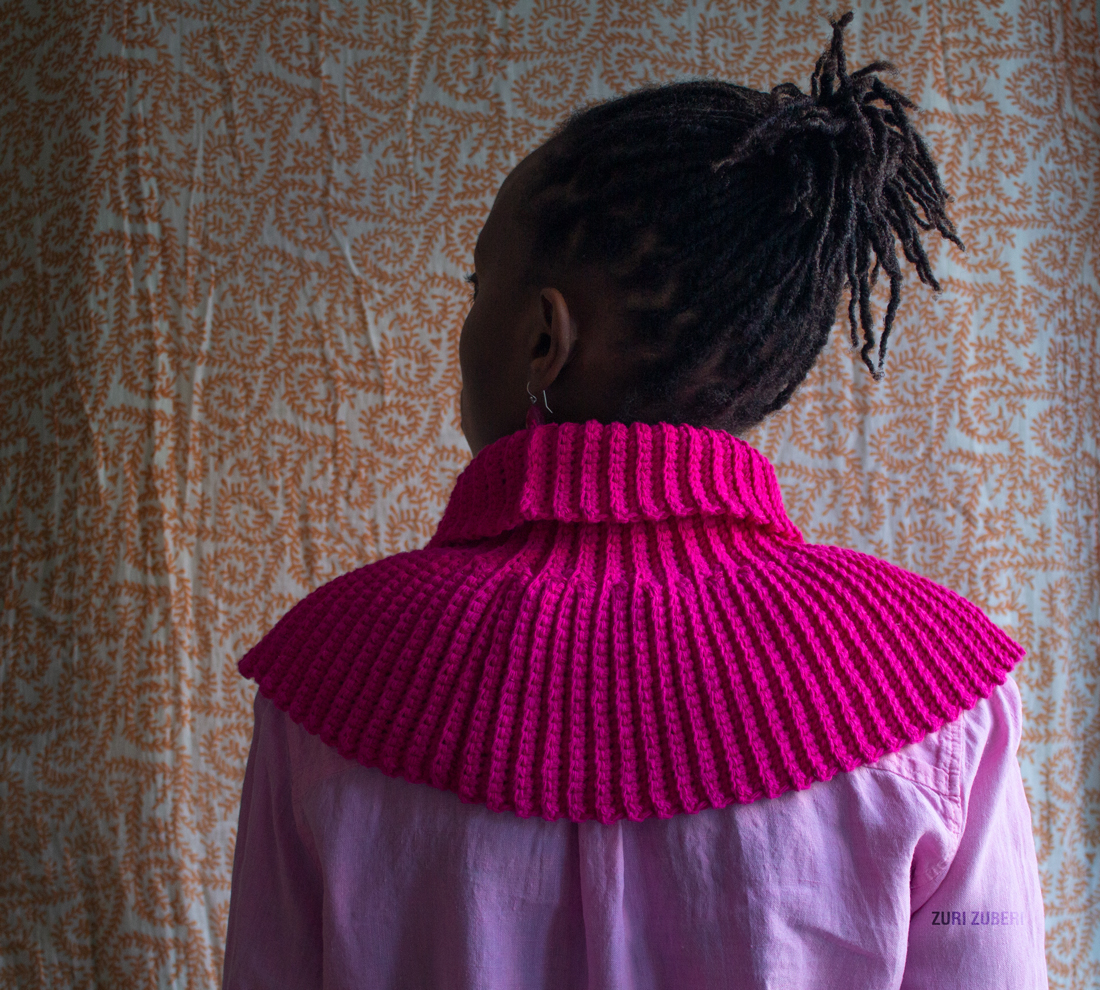
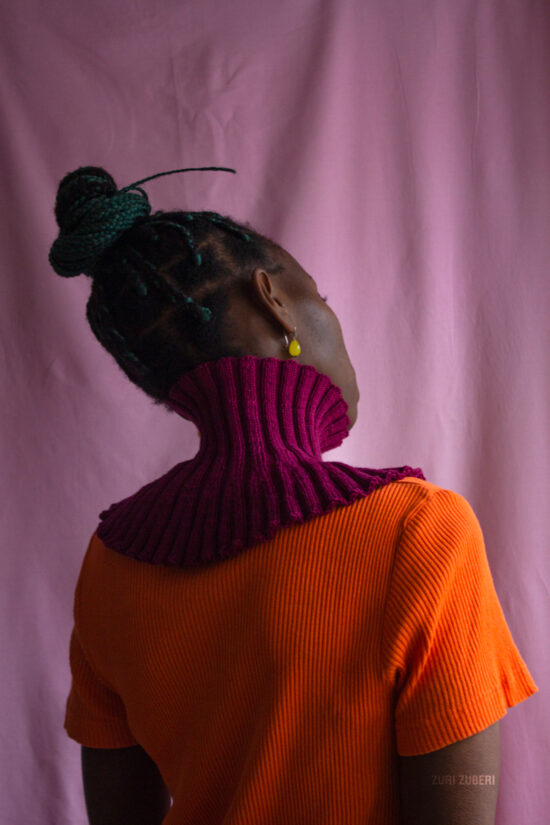
The idea for this neck warmer came to me months ago when a lot of people on instagram were knitting those bib shaped neck warmers in mohair. I wanted something similar but crocheted and with a different shape. I also wanted it to be simple and made with a plant based fibre. Then one evening I figured it out. If I crocheted a rectangle using a fake rib stitch but added rows in between rows on one of the long ends it would be flared enough to lay flat on my chest. I don’t know if that makes sense to you so I’m gonna try to show it in pictures instead.
I hope this inspires you to try this different way of crocheting neck warmers and that maybe you crochet one for yourself or a loved one. If you do and share it on instagram, do tag me so I can see your creations!
Now to the neck warmer itself. I used 2 skeins of Novita’s recycled cotton yarn in the colour 537 (unfortunately I think it’s now been discontinued) and used a 4mm crochet hook. The main stitch used is the fake rib, which is like single crochet but you work in the back stitch only.
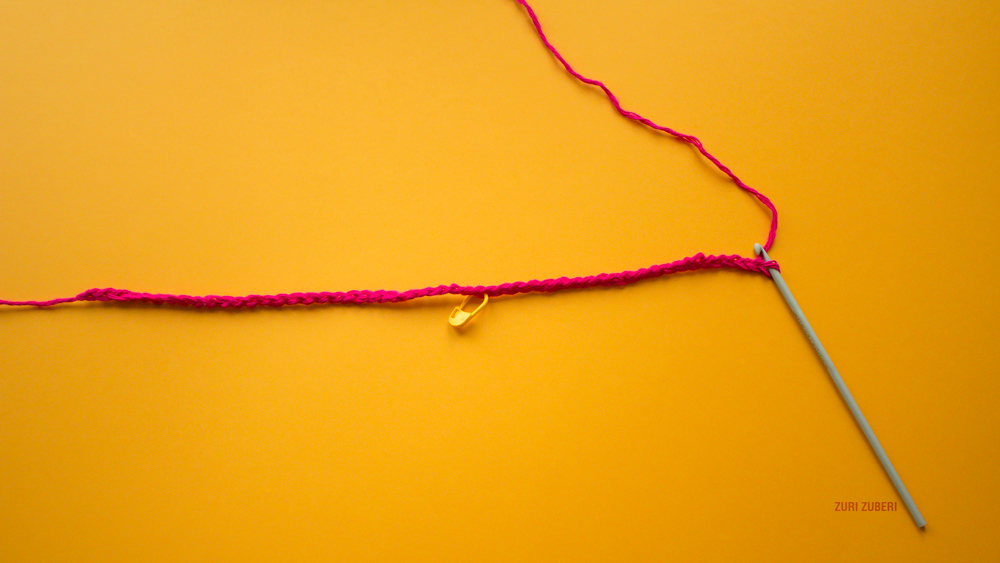
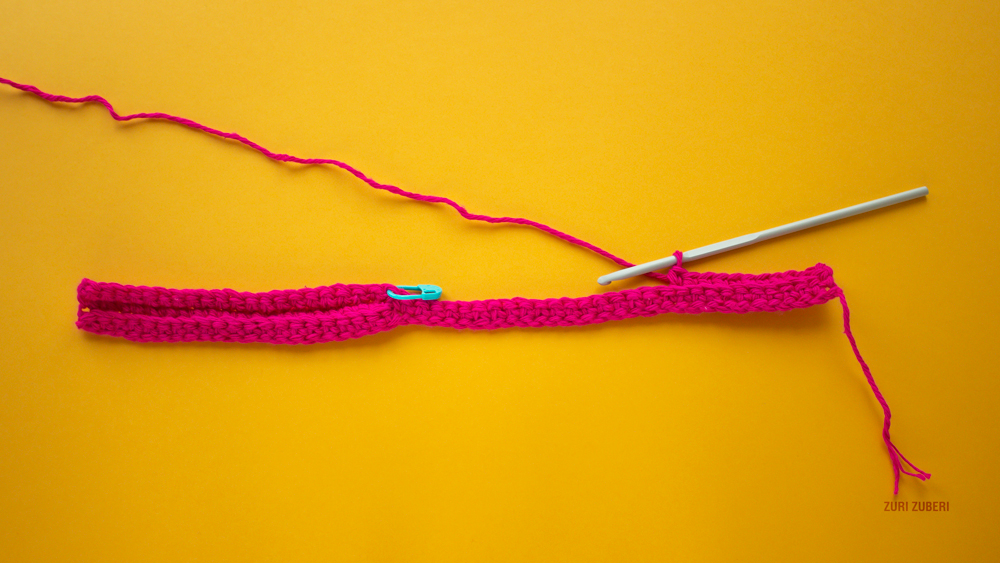
STEP 1 – I started with chaining 30+20+1 stitches and putting a stitch marker between the first 30 stitches and the following 20. This marks where the sections around the neck and the chest meet. You can add more stitches to the neck section depending on how long you want it to be, eg. if you want a fold or not. However, I’d recommend to keep the section around the chest short, otherwise it won’t flare out enough. It will make more sense a few pictured down.
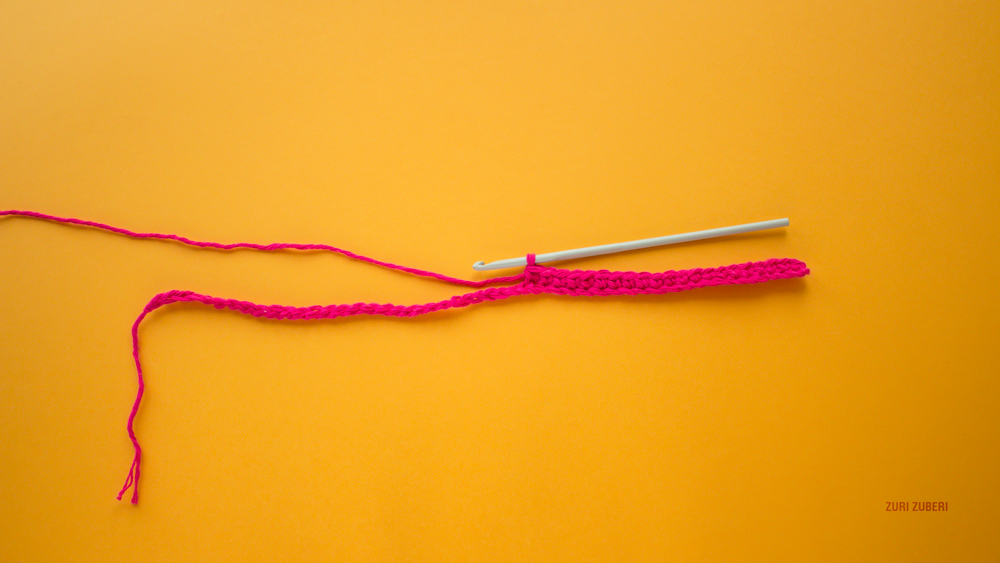
STEP 2 – skip the first chain and then single crochet in the next 20 chains.
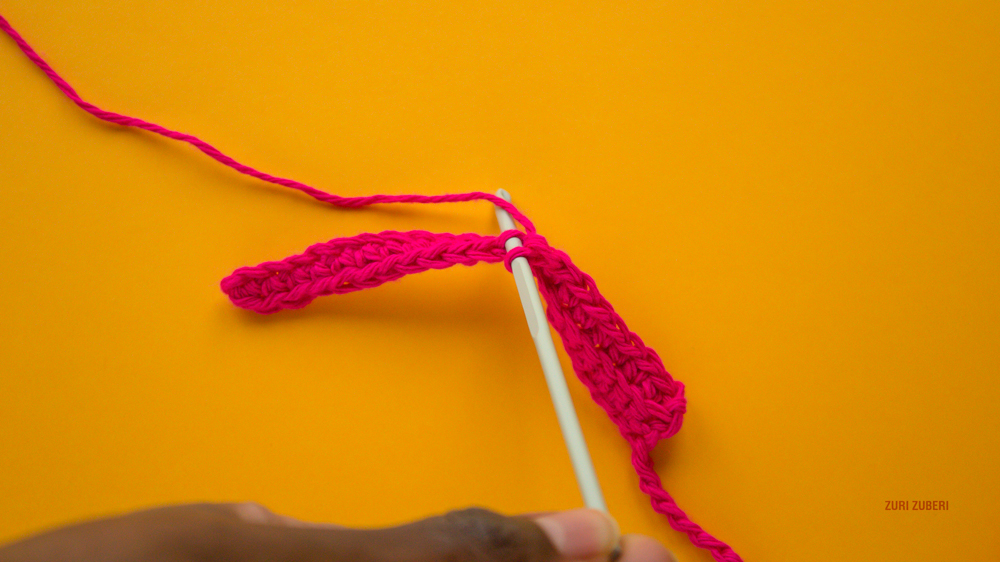
STEP 3 – chain 1 and then single crochet in the back loop only in the same 20 stitches.
STEP 3 – how it looks like when you’re at the end of the row.
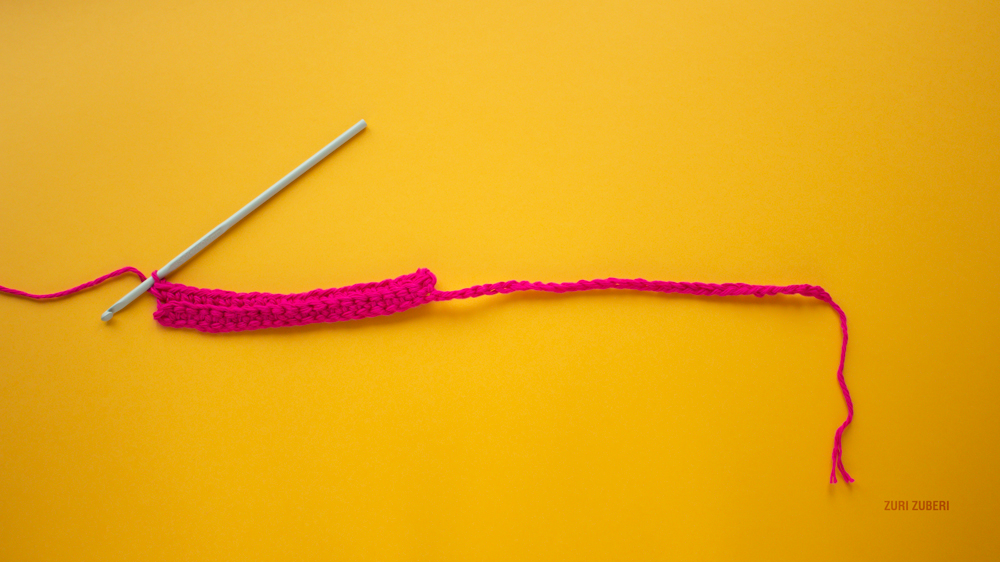
STEP 4 – chain 1 and single crochet in the back loop of the previous 20 stitches.
STEP 4 – when you reach the last stitch of the chest section, single crochet in the chain until the end.

STEP 4 – it’s important to put a stitch marker where the sections around the neck and the chest meet. This will be very useful in the coming rows.
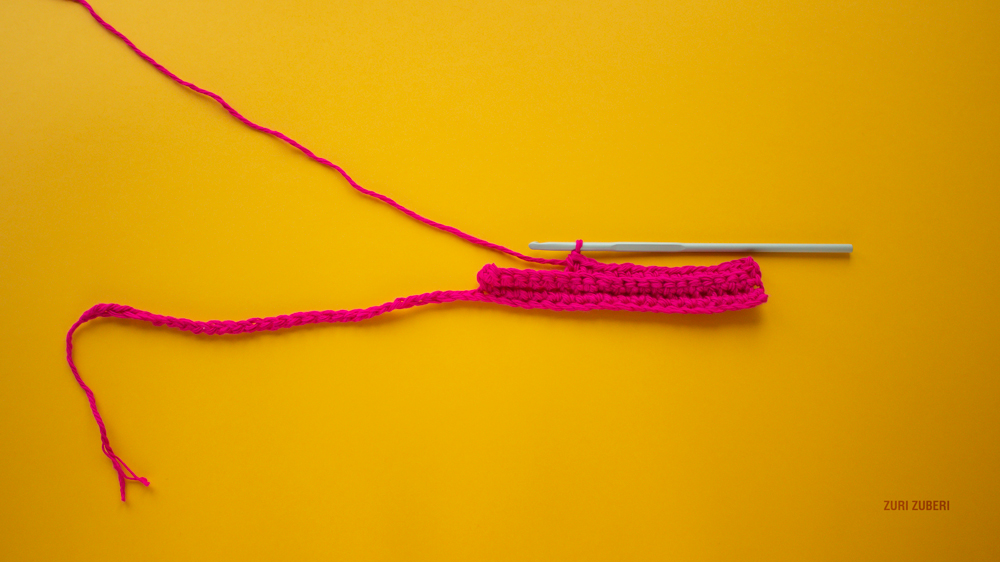
STEP 5 – chain 1 and single crochet in the back loop only all the way to the end, remembering to move the stitch marker.
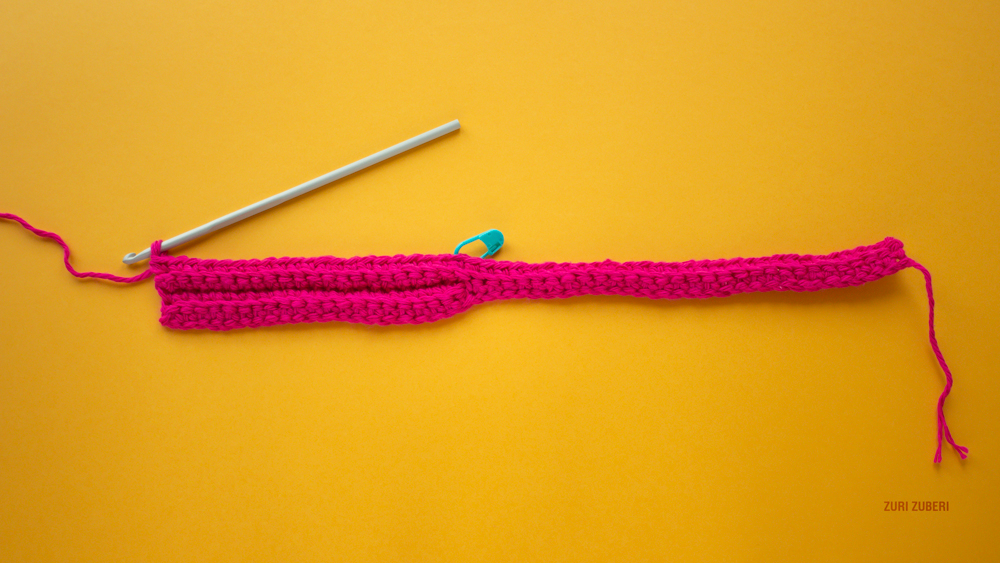
STEP 5 – how it looks like when you’re at the end of the row.
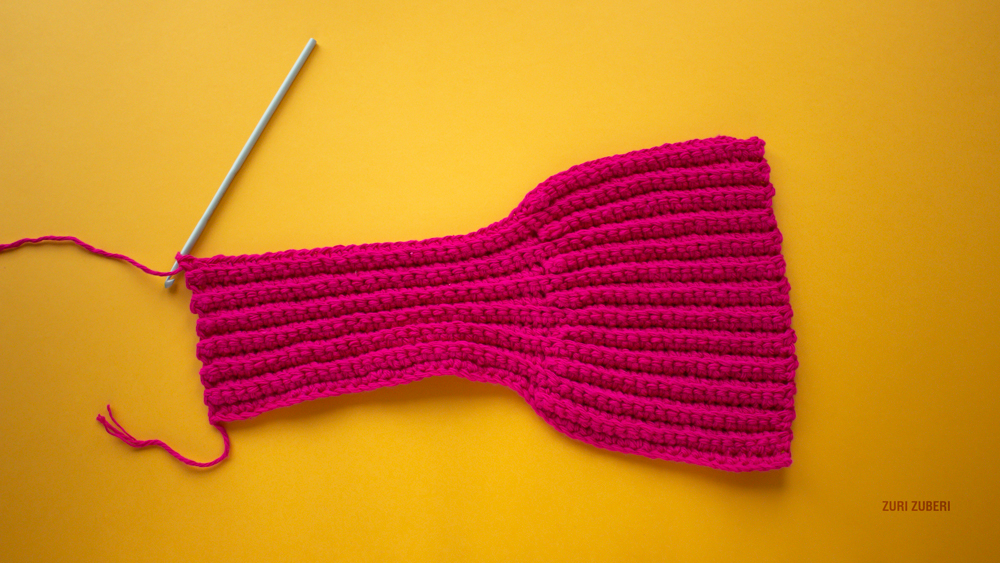
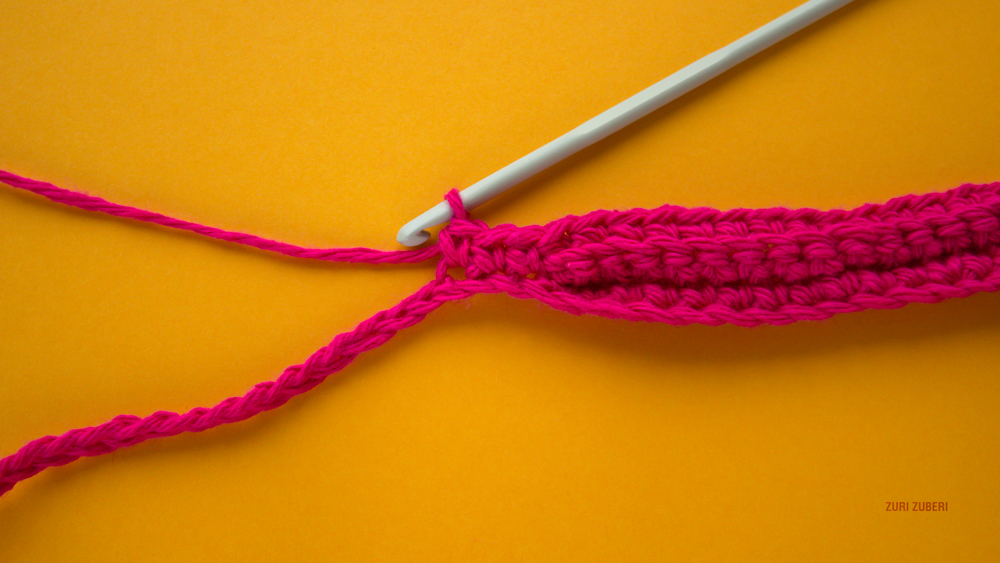
STEP 6 – repeat steps 3-5. This is a few rows in. As you can see the section that goes around the chest is wider than the one that goes around the neck.
STEP 6 – this is about half way in.

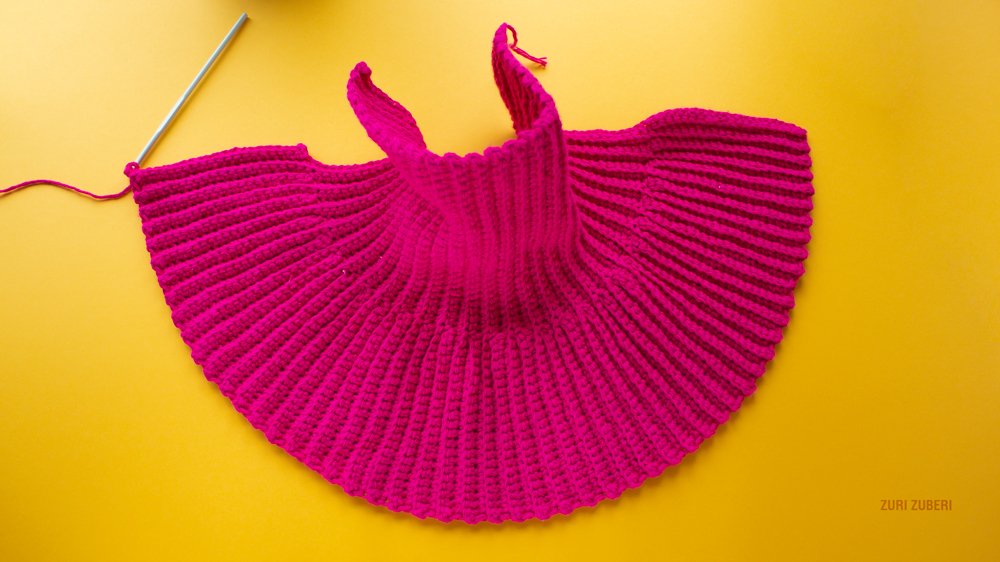
STEP 7 – when you’ve reached the desired width, crochet the edges together with a slip stitch. Since the sides are identical, you’ll have to choose which one acts as the “wrong side”.
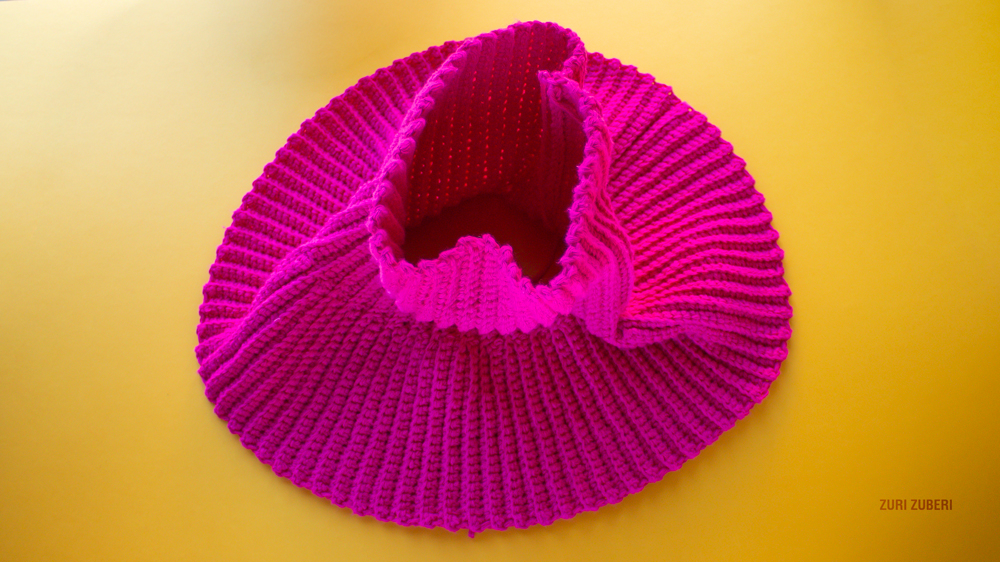
STEP 8 – tie in any loose yarn ends and voilà your neck warmer is finished!